

Preparing to work with render farms can frequently be difficult due to differences between the render nodes and your local computer. To elaborate, the nodes (the computers which we render your file on) need to have the same dependencies that you do on your local machine for your render. When working on a .blend file that is going to be sent off to a render farm. We recommend you take action in the following ways.Documentation Index
Fetch the complete documentation index at: https://www.renderjuice.com/docs/llms.txt
Use this file to discover all available pages before exploring further.
- Packing
- Zipping
Pack External Assets
You can pack or send along any assets that are considered external data into your Blender file. The simplest method to do this is by going to File > External Data > Pack Resources . However, this will only work with certain types of Data Blocks and is a solution for simpler Blender files.Data blocks that are capable of being Packed are Fonts, Images, Libraries, and Sounds as of Blender 3.6.You must then save the file because Blender will not automatically save your file at this point. We recommend saving it as a separate file with the suffix _PACKED.blendPack Linked Libraries
Packing Linked Libraries is useful when an add-on or a data block that you use references another .blend file on your computer. By going to File > External Data > Pack Linked Libraries you pack those linked .blend files directly into one .blend file. You must then save this .blend file again to ensure it is packed.Set to Relative Paths
When utilizing external assets that cannot be packed as mentioned above. It is highly recommended that all links are set to relative. This way when you send a zip file to our render nodes with files linked, we can simply unzip it on our end and render it with those links preserved.Packing Add-Ons
Some add-ons have functionality specifically built to support packing and baking into your .blend file.For example, Botaniq has great documentation that guides you on how to use Botaniq with render farms.Other add-ons have a specific “Bake” or “Pack” button to automatically do this for you.Please refer to your add-on’s documentation for this.Scene Selection
Blender projects can contain multiple scenes, each with its own objects, cameras, and render settings. RenderJuice allows you to specify which scene to render during the configuration step.Active Scene (Default)
By default, RenderJuice renders the scene that was active when you saved your Blender file. This is the recommended option for most projects.Different Scene
If you need to render a scene other than the active one:- Select “Different Scene” from the dropdown
- Enter the exact scene name as it appears in Blender

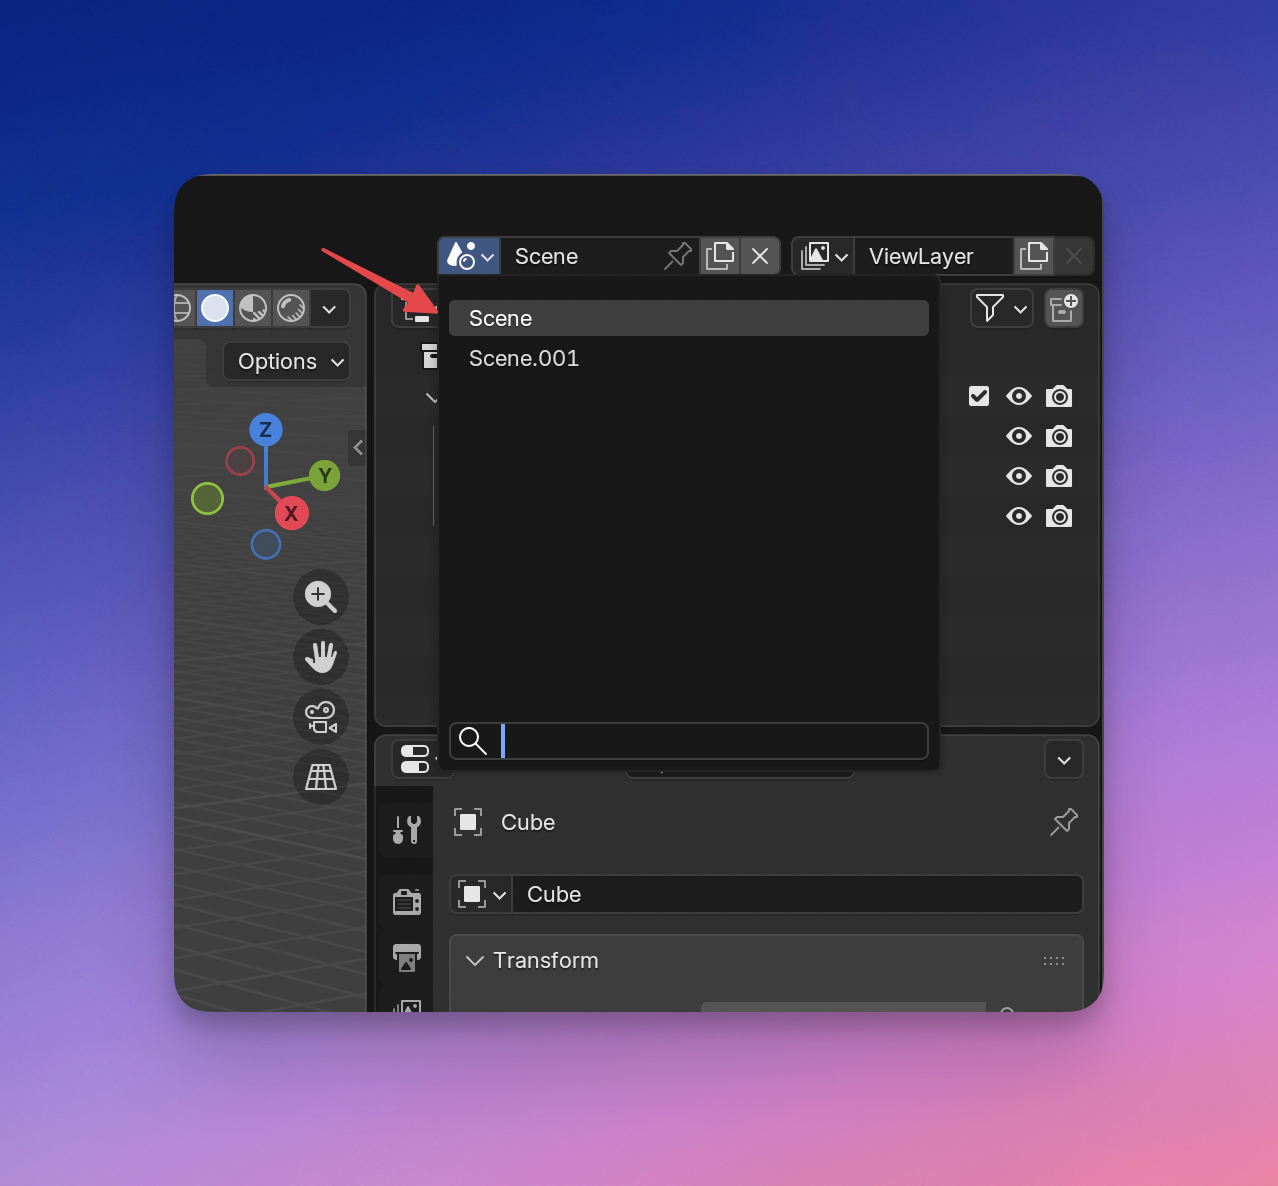
Finding Scene Names in Blender
You can find your scene names in:- The Scene dropdown at the top of the Blender window
- The Outliner panel (set display mode to “Scenes”)
Only one scene can be rendered per job. To render multiple scenes, submit a separate render job for each scene.
If you enable Video (MP4) in Renderjuice, the app will switch output settings to image frames (PNG/JPEG). This is intentional so your full frame sequence is always preserved, even if your .blend file is set to a video output. OpenEXR and OpenEXR Multilayer outputs disable MP4, so keep MP4 off when you need EXR for compositing.